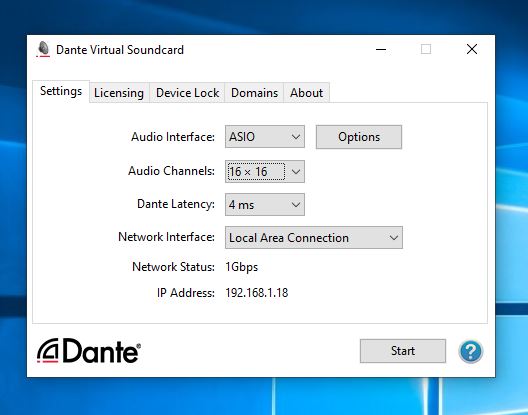
If there is already a Dante network in place then it’s easy to multi-track record and playback up to 64 channels with Pro tools or any other DAW. This can be accomplished with Dante Virtual Sound Card which will turn your computer (DAW) into a Date networked device using your existing Ethernet port. The software requires a license purchase but it is well worth it in my opinion.
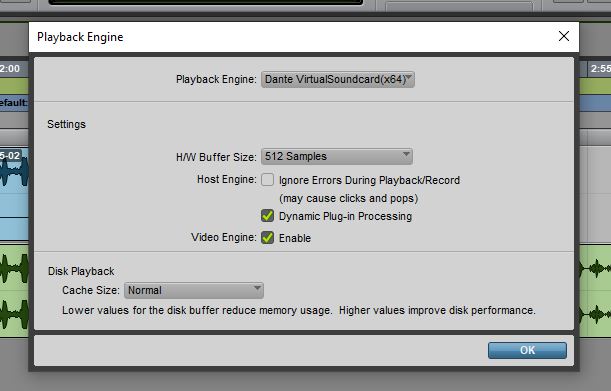
Select DANTE as your playback engine
With the software running we can select it as our audio
interface in Pro Tools under Hardware Configuration. The routing for the virtual sound card is
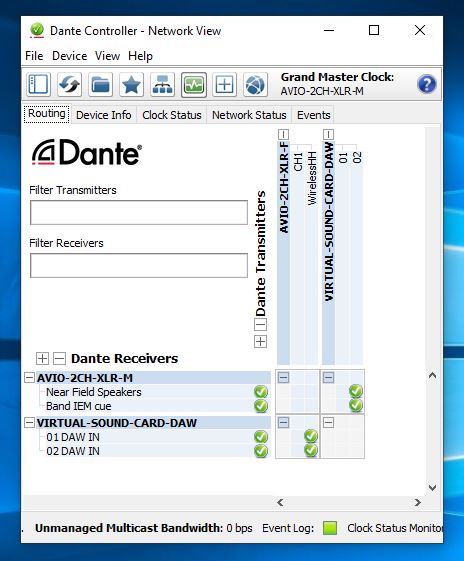
handled by Audinate’s Dante Controller Software which is free. It can be used
to control the audio routes and matrix of any Dante network. Use it to route
audio in and out of your DAW from other devices on the network.
DANTE Controller for audio routing
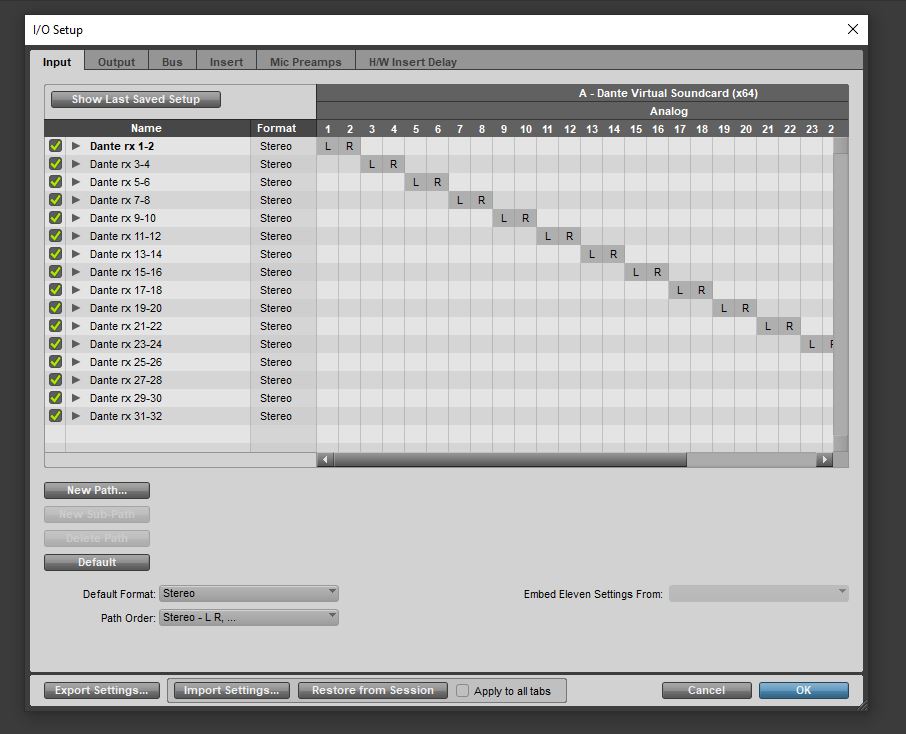
In ProTools set your track inputs to the Dante sources just
as with any other audio interface. Also double check your ProTools Hardware IO
settings which are different than Dante Controller IO settings. Selecting the
default IO setup is adequate for most situations. You should now be able to record and playback respectably
the active channels on the Dante network in and out of ProTools.
I/O routing of DANTE channels to your DAW
Connect Pro Tool to your DANTE network with the steps:
-Download, open and configure Dante Virtual Sound Card.
-On Windows Machines select ASIO Drivers for high performance DAWs or WDM drivers for consumer audio such as iTunes, VLC, WMP
-Choose number of input and outputs. Up to 64 channels are supported.
-Start Dante Virtual Sound Card
-In Dante Controller assign the necessary audio transmitter channels to the receiver channels of your virtual sound card device.
-Open Pro Tools and select Dante Virtual Sound Card as your hardware interface.
-Select source/destination inputs and outputs for individual tracks.
-Arm all tracks and record. You should see the Dante audio track being recorded into Pro Tools.
I have recently updated this article to reflect updated policies by PACE regarding iLok’s “Zero Dowtime” and loss coverage programs.
What is an iLok?
iLok is a physical software authorization key in the form of a USB dongle. Software licenses are placed on the iLok and compatible programs (mostly professional media creation tools) look for the authorization upon startup. This was an early tool to help prevent software piracy.
PACE iLok Gen 1 & 2
As with most piracy prevention tools it typically hurts the legitimate user more than the pirate. If your software key breaks, then you are out of luck until you can get a replacement shipped to you. PACE, the creators of iLok have done a great job in recent years making sure that customers always have access to their tools and software. There once was a time when a studio could be offline for weeks due to faulty or broken iLok keys, essentially turning production workstations into nothing more than a doorstop. It also use to be a lot harder to get the software manufactures to issue a replacement product key without having to re-purchase software. Thankfully, these are all things of the past.
Replacement
If you find yourself locked out you can be up and running within a few hours if you act quickly. You will need to submit a RMA with PACE for a replacement iLok on their website. The broken iLok will need to be shipped back and they will send you a replacement with loaded licenses. This process can take up to 12 business days due to the shipping process. You will also be required to purchase a new iLok and pay a RMA processing fee.
It’s great that we have the confidence that we get our licenses returned to us but what if you can’t afford to have the studio closed for two weeks? Luckily, the process has been streamlined over the years and if you are willing to shell out the money then you will be up and running in no time. At the time of submitting an RMA you will have the option to join the “Zero Down time” program. This is acts as an insurance policy for your iLok. The cost is $30 per year, per iLok. You will need to join the ZDT program and then additionally pay a $100 expediting fee to get you current broken iLok covered by your new insurance policy. Yes, that s right! Pay $100 and there are no “pre-existing conditions”.
After you have submitted RMA, joined ZTD, and paid the balance, PACE will deposit a 14 day temporary license into your account. This will allow you to authorize whatever software you need to run. A secondary iLok will be required to dump the temporary license onto so its always a good idea to have a spare iLok laying around. There are other ways around this such as using PACE’s software manager to authorize the computer itself but for simplicity sake it’s much easier just to have a spare iLok key in the event of an emergency. This 14 day temporary license will get you buy until you receive your new repaired iLok in the mail. At that time you will just switch back over to your primary iLok. More information on PACE’s zero dowtime program can be found here.
Prevention
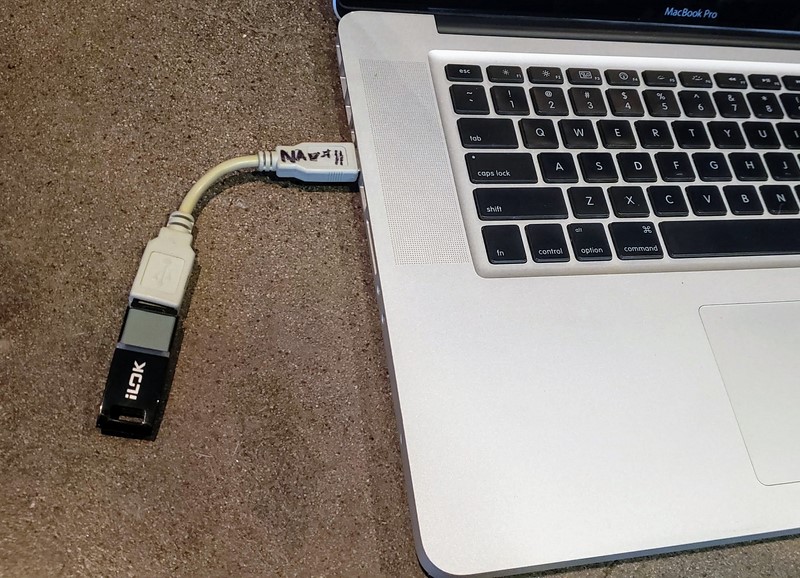
There’s no doubt that the recovery process is much easier than it used to be but what can we do to prevent it from happening all together? One of the most common issues i see with broken iLoks is just from basic wear and tear from constantly removing in and out of USB slots. You can see this same type of damage happen with USB flash drives. Although the iLok is build more sturdy than your average thumb drive, it still won’t take much to render it useless.
Protect USB devices with a pigtail extension
To prevent dongles such as iLok from breaking I always recommend adding a cheap USB pigtail to your device. A short 6″ USB extension cable can be added so that all the normal wear and tear will be placed on the pigtail rather than the USB drive itself. Having a pigtail also helps on laptops where USB drives are commonly broken off from being stuck in a rigid port. Male to Female extension cables can easily be found and it’s a worthy investment for under $10.
Small tweaks in Pro Tools playback engine can go a long way and help your system run smoother based on your current task. Incorrect settings in the playback engine can also cause errors and crashing during the recording or mixing process. So what setting should you be using? The answer is based on what you are trying to accomplish with your DAW. So, let’s look at the basic principles of buffer speeds and optimization to help you make a decision on what’s right for your situation.
Lower Buffer
Lowering your buffer speed while recording and tracking will help reduce audible latency. The downside of this is that you will be putting more strain on your computer’s CPU and will not be able to run many plugins. In general, it’s best practice to use minimal light-weight plugins to reduce processing requirements while tracking. Plugins can always be changed in the mix phase to a better sounding, more power hungry processor. If you are asking too much of your computer’s processor then you will get audible clicks and pops and possible even recording failure during the tracking process. Try out each setting and see what works best for your current situation. On Pro Tools LE rigs I typically don’t need to go any lower than 256 samples while multi-track recording 24 channels of audio.
Higher Buffer
Setting your buffer to the highest setting while monitoring playback and mixing will allow you to run more plugins and signal processing. There will now be slight delay when you start playback but this is a normal symptom of using a high buffer setting. The slight latency should not affect you in the mixing process but is obviously very hard to work with if you are recording instruments and have any intention for timing or rythym.
Change your Playback Engine settings in Pro Tools
Click on the Setup menu at the top of your screen.
Choose Playback Engine.
In the buffer speed drop-down, select the speed that best fits your situation
Note: Choose a lower setting for tracking or a higher setting for mixing performance.
Sometimes ProTools session just won’t open or if they do, they don’t function properly. This is primarily visible in systems that deal with session files from a variety of sources such as professional recording studios. Recording artists will routinely bring in previously recorded material from a variety of studios all using different version of ProTools. Most the time sessions will open without issue but only have annoying features such as the size and function of windows, transport placement, and UI settings. If you find yourself with a crashing system and a paying client it’s a good idea to purge your application preferences first to see if that will solve your issue. Trashing the Pro Tools preferences is easy and is a good way to reset the ProTools software to it’s default state. You can find steps on Avid’s site for all the versions of ProTools for both Windows and Mac.
Mac
Pro Tools 11 & 12
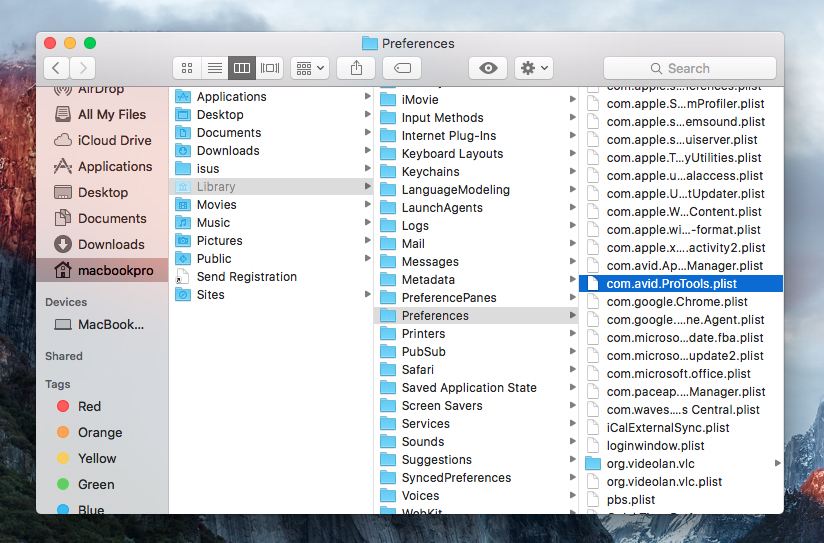
1. With Finder as the active application, click on the Go menu, hold the Option key and click Library.
2. Click on the Preferences folder and delete the following items:
Preferences > Avid > Pro Tools
com.avid.ProTools.plist
ProTools Preferences Location in OSX
3. Open the Trash, click Empty, then Empty Trash. Once done, restart your computer.
Windows
Pro Tools 11 & 12
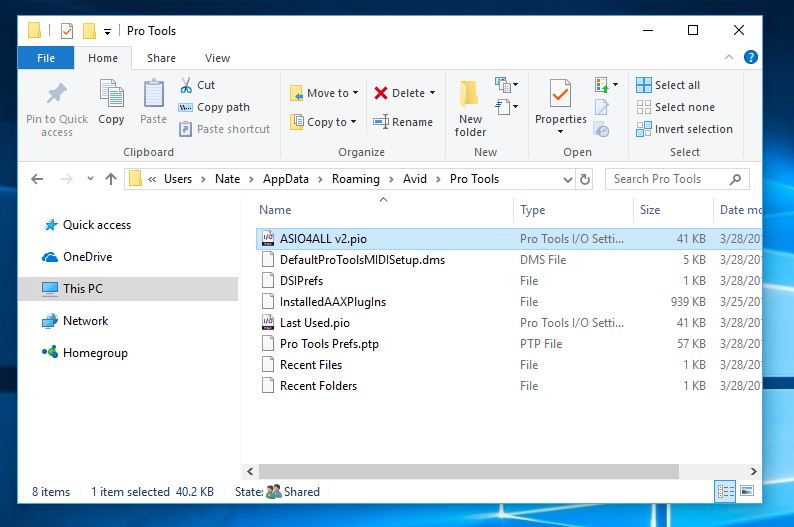
Go to C:Users > *Your User Name* > AppData > Roaming > Avid and delete the Pro Tools folder. Then, restart your computer.
Note: If you cannot find the AppData folder, click on the View tab, above Show/hide check Hidden Items.