It’s important to backup your wordpress site on a routine basis. Sometime files become corrupted, infected with virus, or accidentally deleted. There are plenty of plugins that can make these tasks easy but I feel like it’s important to know how to do this if those tools aren’t available. Below I’m going to cover the steps required to backup your word press site manually.
When backing up your wordpress site there are basically two areas that we need to focus on. The two areas are the Site Files and the MySQL database. Both section together encompass your entire website and a full backup can restore you website completely. Within the site files there are several different components that may be backed up independently, although I always recommend doing a full backup of files at the root of your site in the public_html directory. There are many reasons for why one would want to just backup certain sections of the site. Web developers commonly backup only the needed areas to keep backup sizes small. For simplicity sake I always backup the entire site so you have more than enough to work with in case a recovery is needed. Lets take a look at what is contained within the “Site Files“.
Site Files
Core WordPress Files -These files are the backbone of every wordpress site and are essentially the foundation blocks of you website. They are the coding structure of the way everything runs. These files generally never change and a fresh copy can always be downloaded at www.wordpress.org.
WP-Content Folder – This folder is where wordpress stores all of your images, media, uploads, theme files and other critical files that are unique to your site. Plugins are also contained within this folder. Sometime a plugin might be causing an issue with a site and there would be reason to exclude files from your backup or restore.
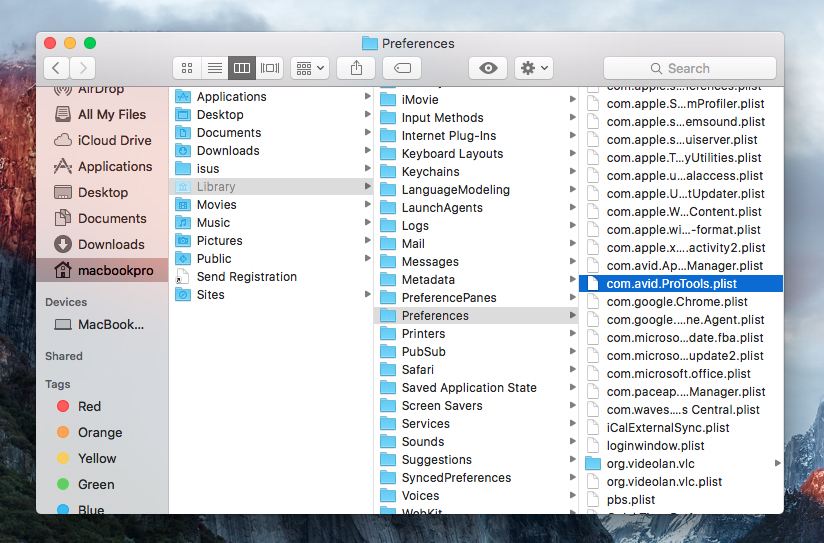
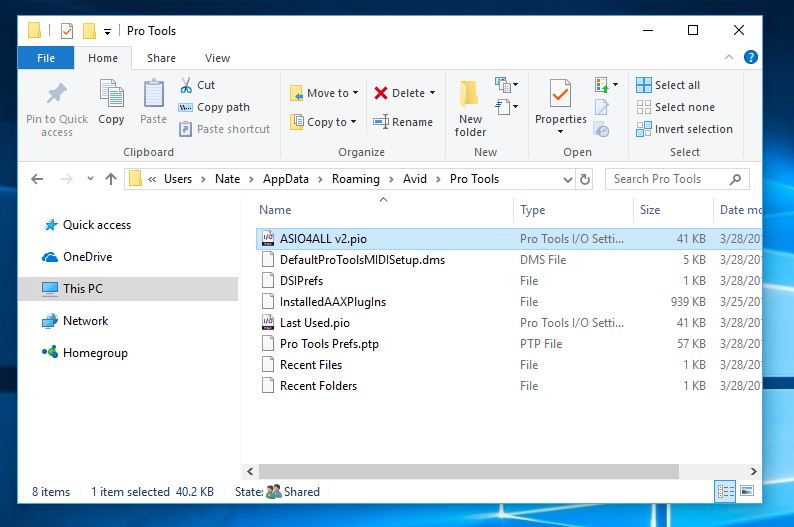
Configuration files – These are important files that contain settings information. They tell your website how to load and where to find your files. Some of the more important are your “wp-config.php” and you “.htaccess” files.
MySQL Database
Your WordPress Database is stored in a MySQL file and contains all your pages, posts, comments, and user data. You can think of this as most of the text data that you enter into your site. It is the data that is updated most frequently and therefore should be backed up more frequently than your site files.
Backup Procedure
Site Files
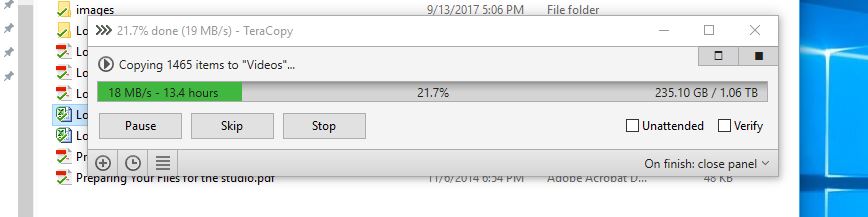
The best method to backup your site files is to use an FTP client such as FileZilla. You can also download the files directly from your host site or server where your files are stored. When downloading the files, remember that it is best practice to just grab all of the files on your server. These can then be saved to a USB flash or external harddrive. Login to the FTP client using instructions supplied by your host. 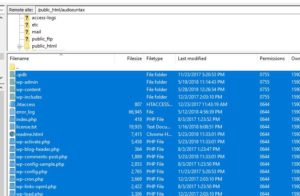 Navigate to the root of your site usually contained within the “public_html” folder. You will see a list of files and folders including WP-Content, wp-config.php and others as previously discussed. Make sure you highlight all the files and then drag them to your desktop. This process of downloading can take some time. If you have a lot of pictures and media rich pages than this could take anywhere from a few minutes to a few hours. After you have your files downloaded, back them up to external hard disks or optical media such as burnable DVD’s. Checkout my post on Quick and Safe Data Transfers to learn how to more efficiently backup data of all types including your website and multimeda project files.
WordPress Database Backup
There are many methods to backup your database including using your hosts’s control panel, a popular platform called cPanel or by the use of backup plugins. 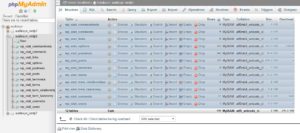 I suggest doing it from directly within phpMyAdmin which is a program that will be running on your web host. We can usually log into it at your web host provider such as GoDaddy or HostGator and find it under the database sections. Downloading the database will render a small SQL document which will look like a text or notepad file. It contains very important code which will include all of your pages, posts, comments, and user data. It is recommended that you backup this file at least once a month or more frequently if you consistently update your site.
- Log into phpMyAdmin on your server
- From left side window, select your WordPress database. In this example, the name of database is “wp”.
- The right side window will show you all the tables inside your WordPress database.
Click the ‘Export’ tab on the top set of tabs.
- Ensure that the Quick option is selected, and click ‘Go’ and you should be prompted for a file to download. Save the file to your computer.
- Keep the .sql databse in a safe place along with your site files.
that’s It! Your website is now completely backed up. Make copies of these files and store them on external hard disks or optical media such as burnable DVD’s. Checkout my post on Quick and Safe Data Transfers to learn how to more efficiently backup data of all types including your website and multimeda project files.
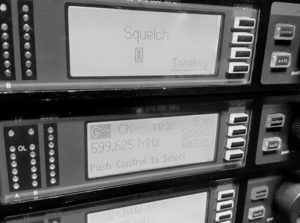


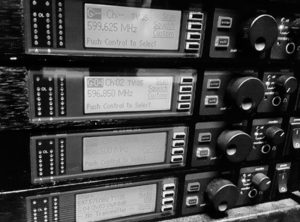 systems and sound systems that were installed by a contractor tend to have affected equipment even if it was installed after the FCC’s announcement. This is likely due to supply houses and contractors trying to unload inventory before they themselves end up with nothing much more than an expensive paper weight. I saw this with the 700MHz reallocation a few years ago and am seeing it again now. Make sure to check you wireless frequencies and budget to replace if needed. Luckily the 3 largest manufactures offer trade-in rebates on affected wireless systems. You must have proof of purchase and file for the trade-in rebate before the deadline. Sennheiser’s deadline is June 30th, 2018 and Shure’s deadline is July 30th, 2018. Audio Technica’s deadline for rebate is set for sometime in 2019. You can refer to each manufacturer on trade-in specifics and how to collect your rebate.